


|

|
|
HOW TO MAKE A BOTTLE 'O FRUIT 'O GROG I've grown fruit in bottles for the past 15 years, and thought it might make for interesting reading (Poire Prisonniere) 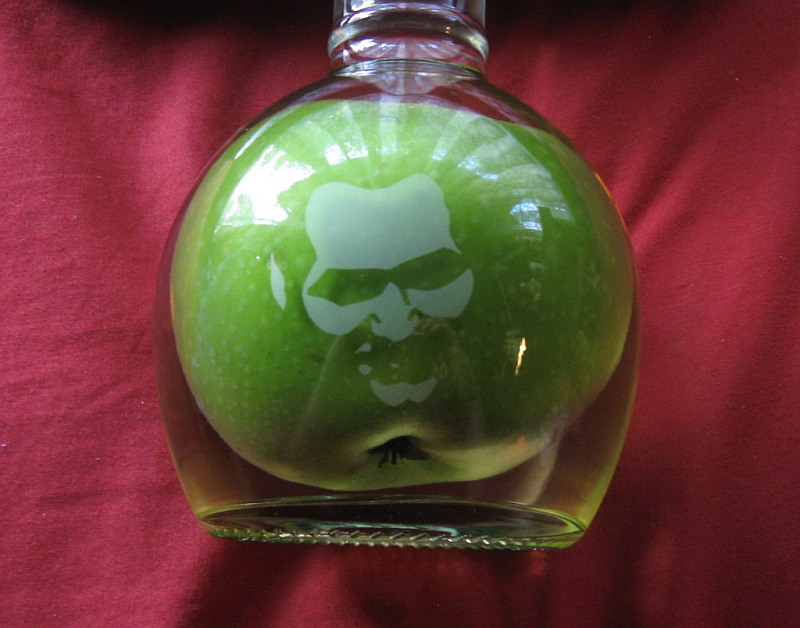
What You'll Need
1. Fruit tree with young fruit (apple, pear, large plums, etc.)
First step: Find a bottle
Look for something that can accommodate the ripened fruit, has a narrow neck, can be sealed again, and importantly - is interesting to look at. Pro's tip: Clear glass helps you see what you've grown!
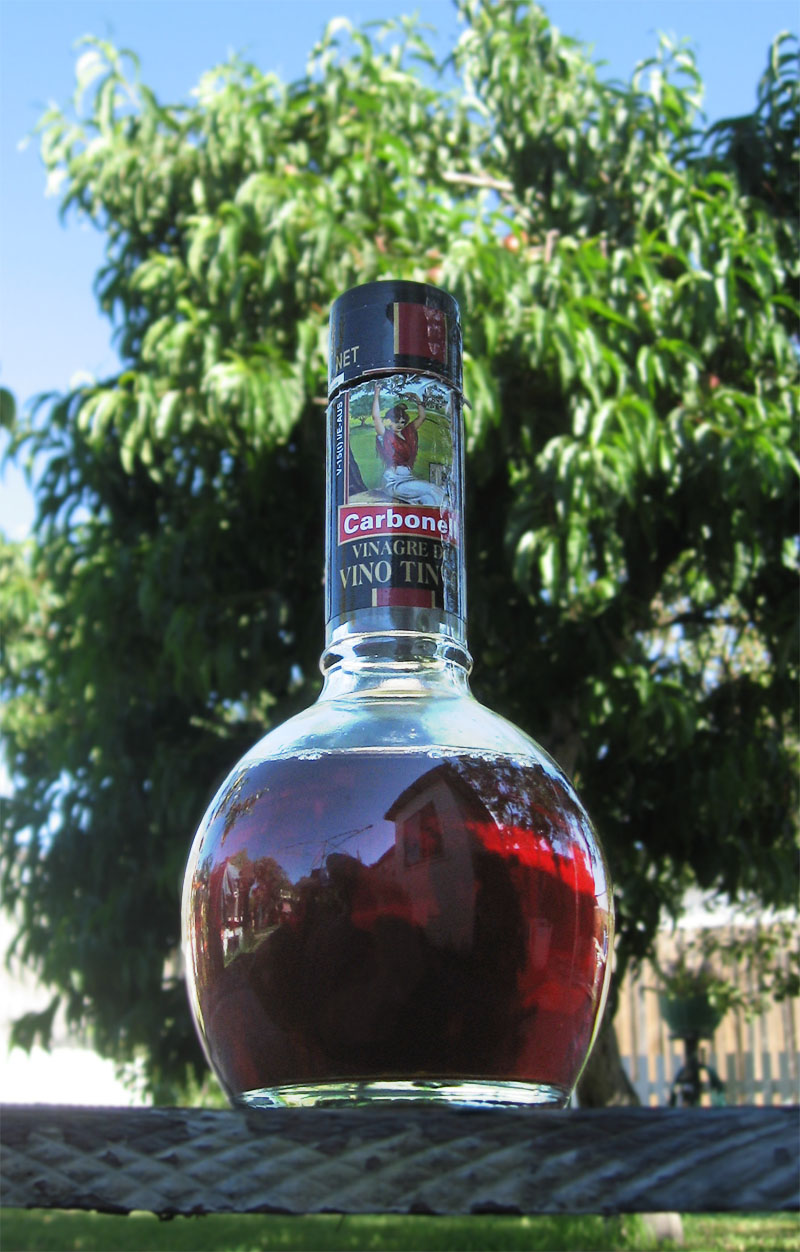
I'm using a vinegar bottle because it has a nice 'bulb' to it, and I'm able to reseal the bottle again.
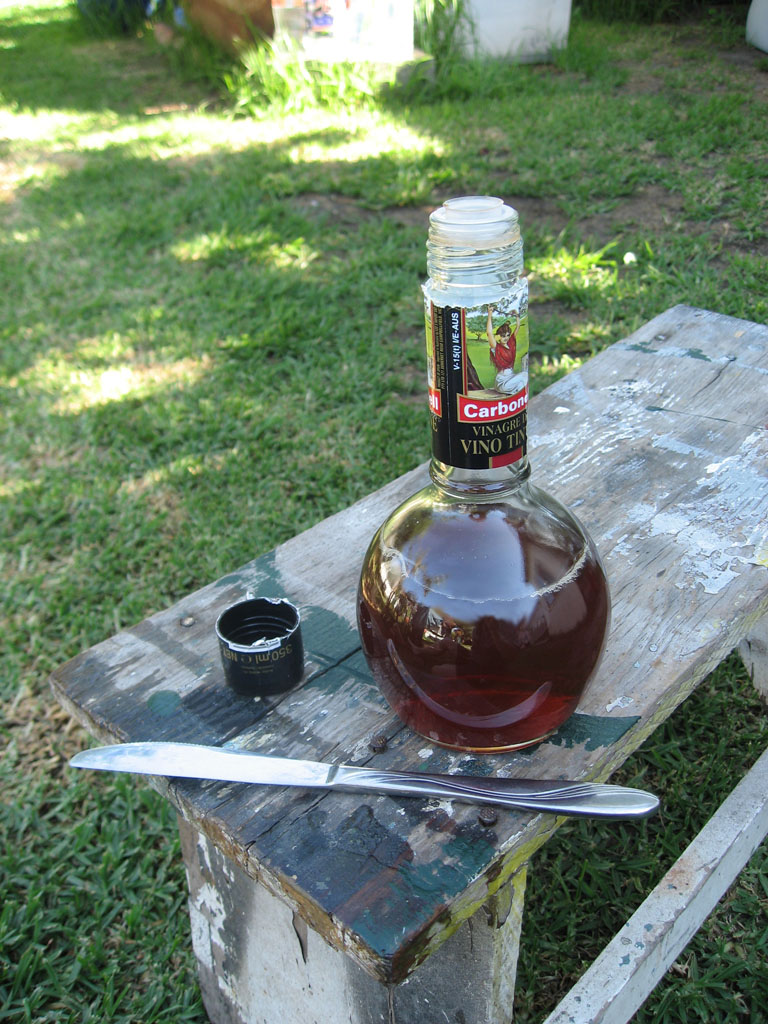
Look for bottles with nice plastic seals as cork can let air in if not cared for properly.
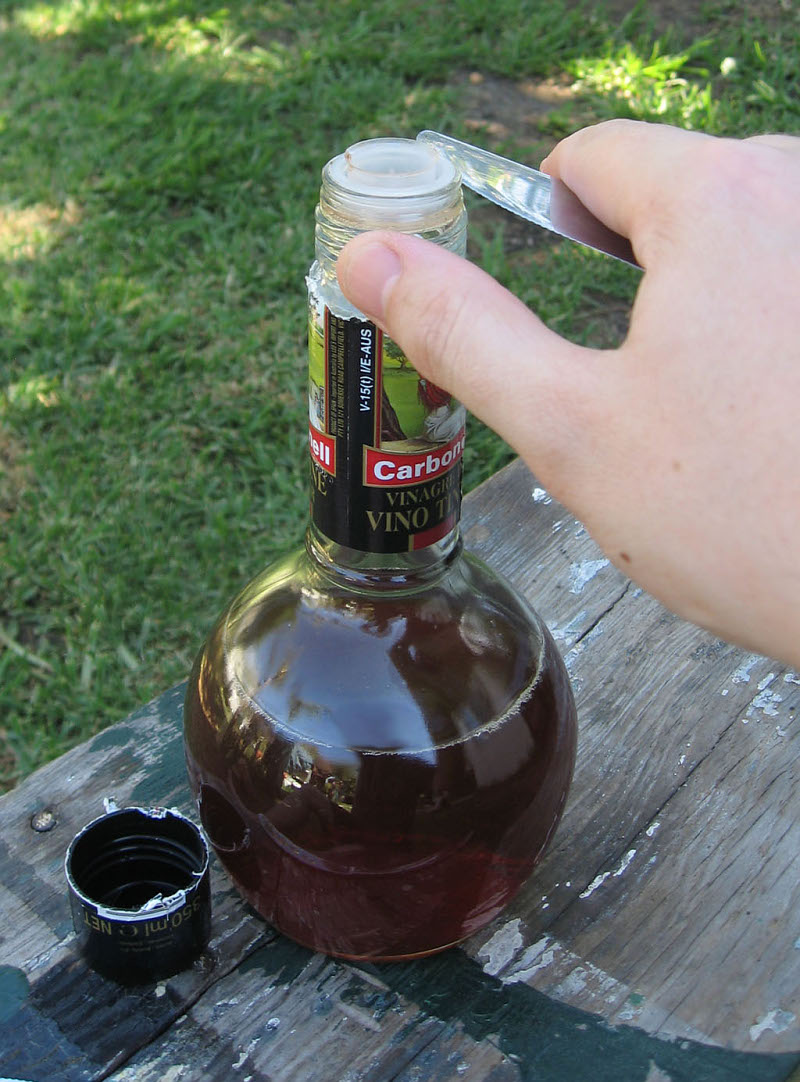
I'm using a butter knife to pop the bottle seal off, leaving the pull-tab system unbroken (not shown, different bottle used in this series of pics).
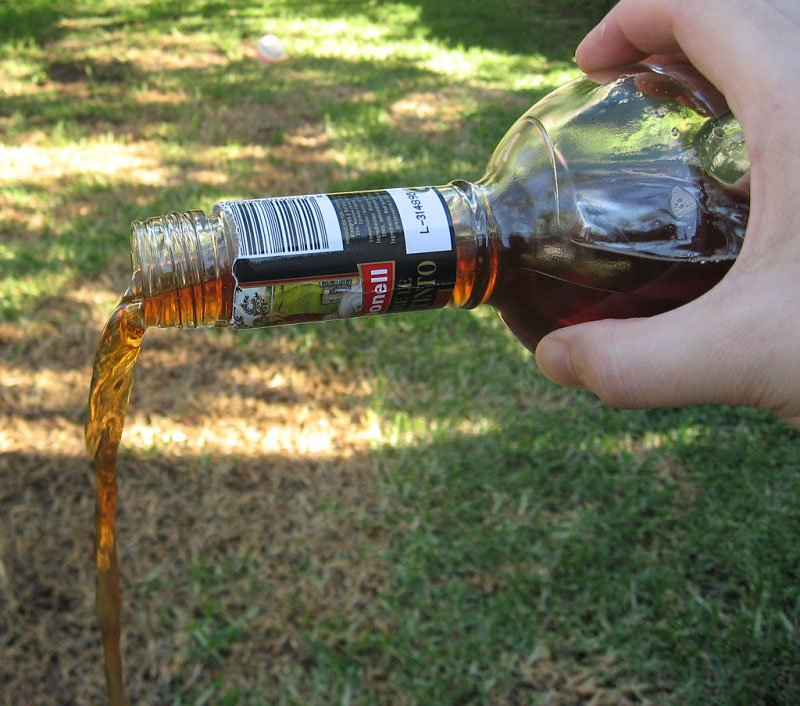
Tip the old crap out, and clean the bottle thoroughly with a bottle brush. If you use detergent, you must then rinse the bottle out well.
Second step: Find a suitable tree branch
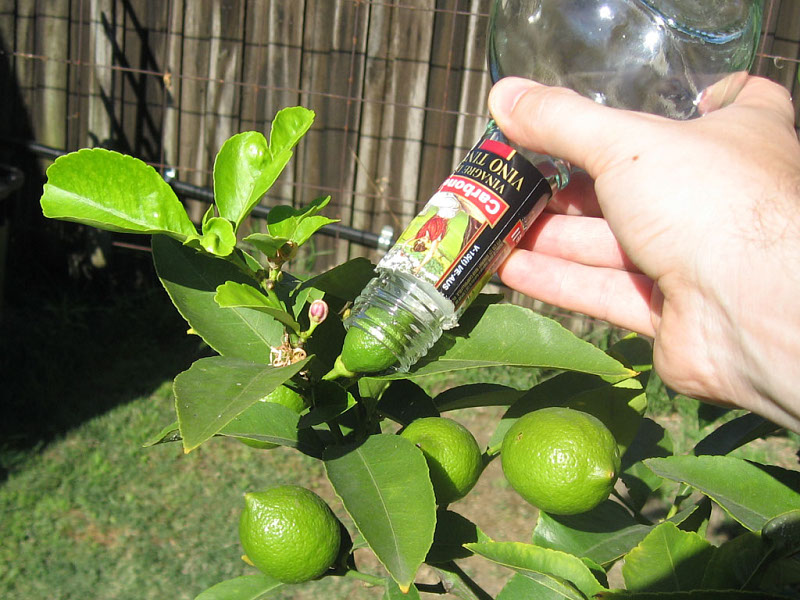
Fruit has a habit of randomly dropping off a branch when it's still immature, so the longer you leave it before bottling, the more likely it is to survive - but leave it too long, and the fruit won't fit anymore!
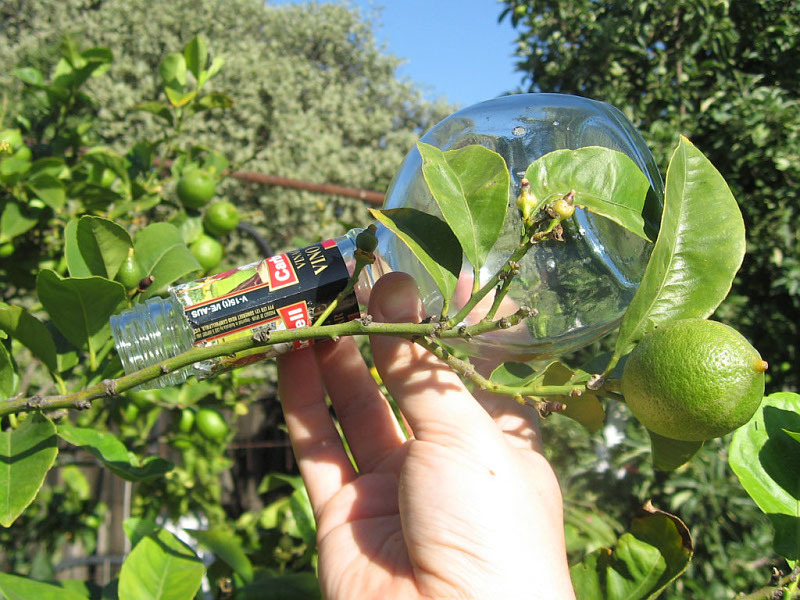
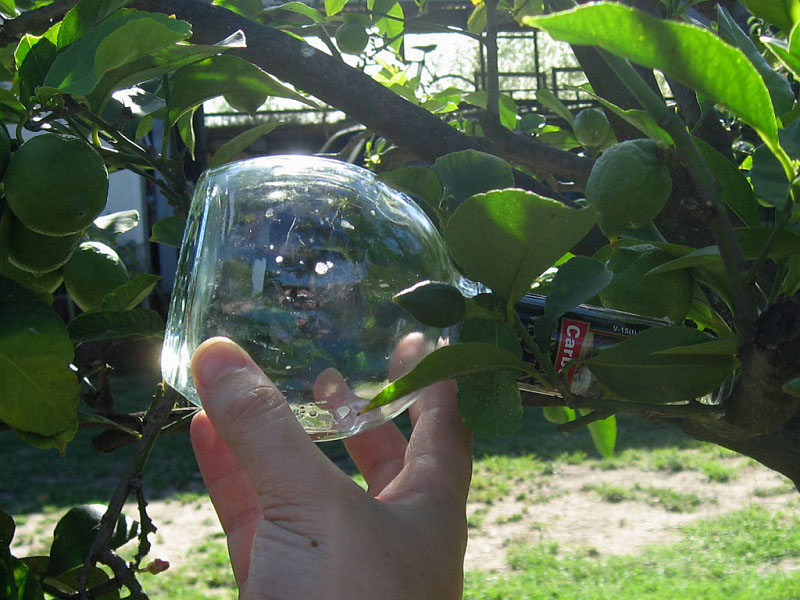
The next consideration is branch length - Make sure the branch is long enough for the fruit to live inside the bottle, and not the neck!
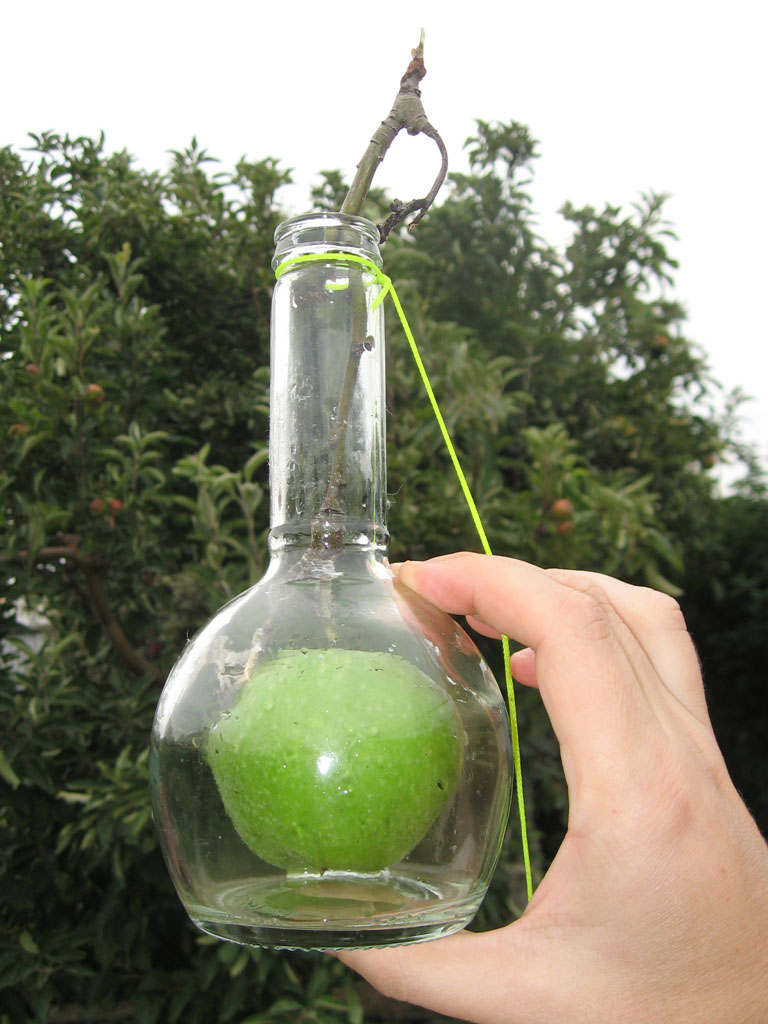
Lastly, the bottle adds a lot of weight to the branch, so make sure it's strong enough and free of cracks and knots - D'oh! Pro's tip 1: Remove any leaves and twigs so the selected branch is clean, and remove some of the other fruit from that part of the tree so your fruit gets more nutrient.
Pro's tip 2: To keep rainwater out of the bottle, most people tie the arse of the bottle to a higher branch to keep the neck pointed down. I find wind causes far too many branch snaps for this to be worthwhile, and regular bottle rinsing works just fine. Windy days will still give you grey hairs though...
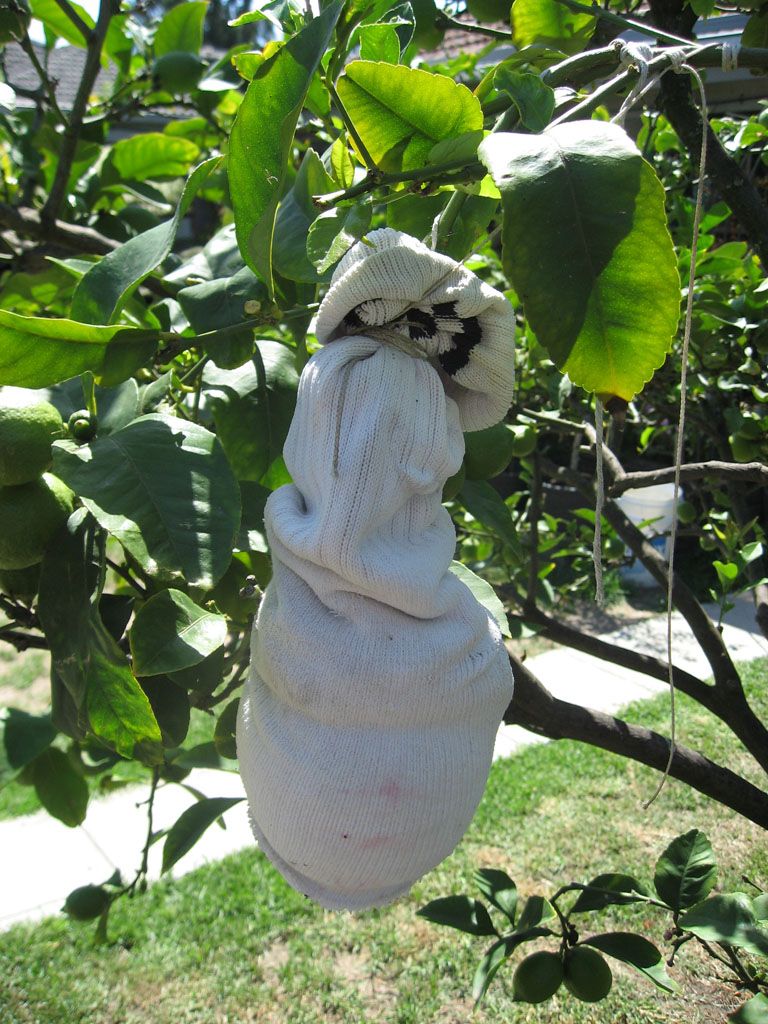
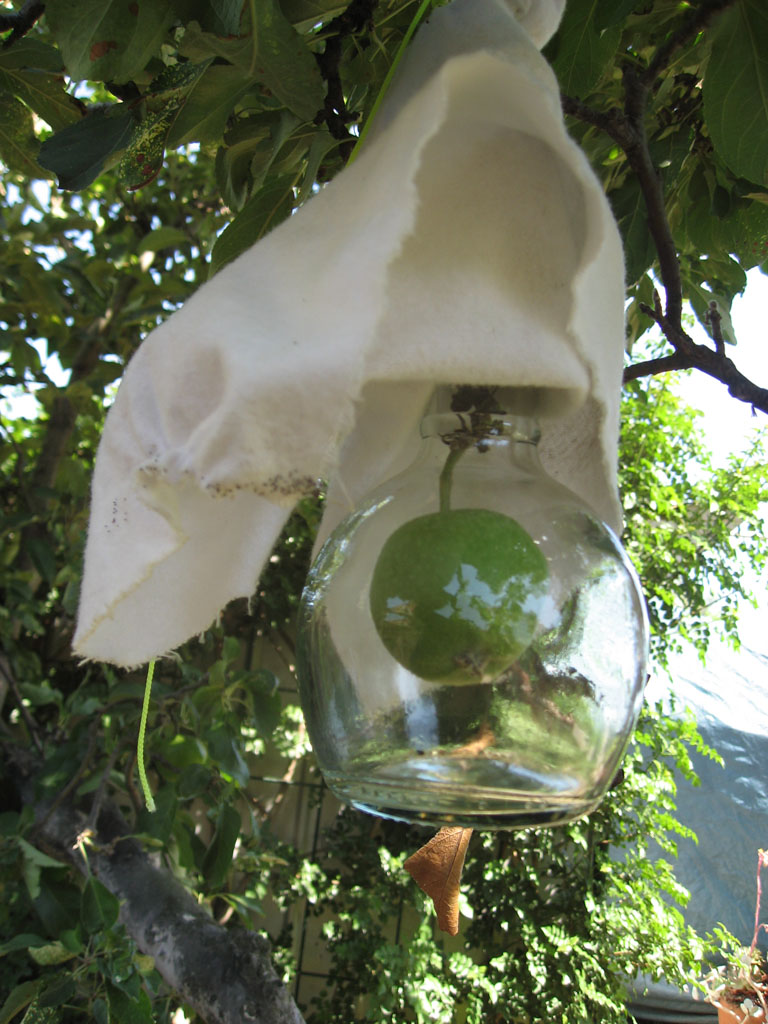
...and a white sock or rag works well for keeping the sun off our mini greenhouse. Pro's tip: Keep checking the growing fruit, and adjust the bottle's position so the fruit doesn't get deformed, bruised, or sits in water.
Fourth step: Flotsam and jetsam
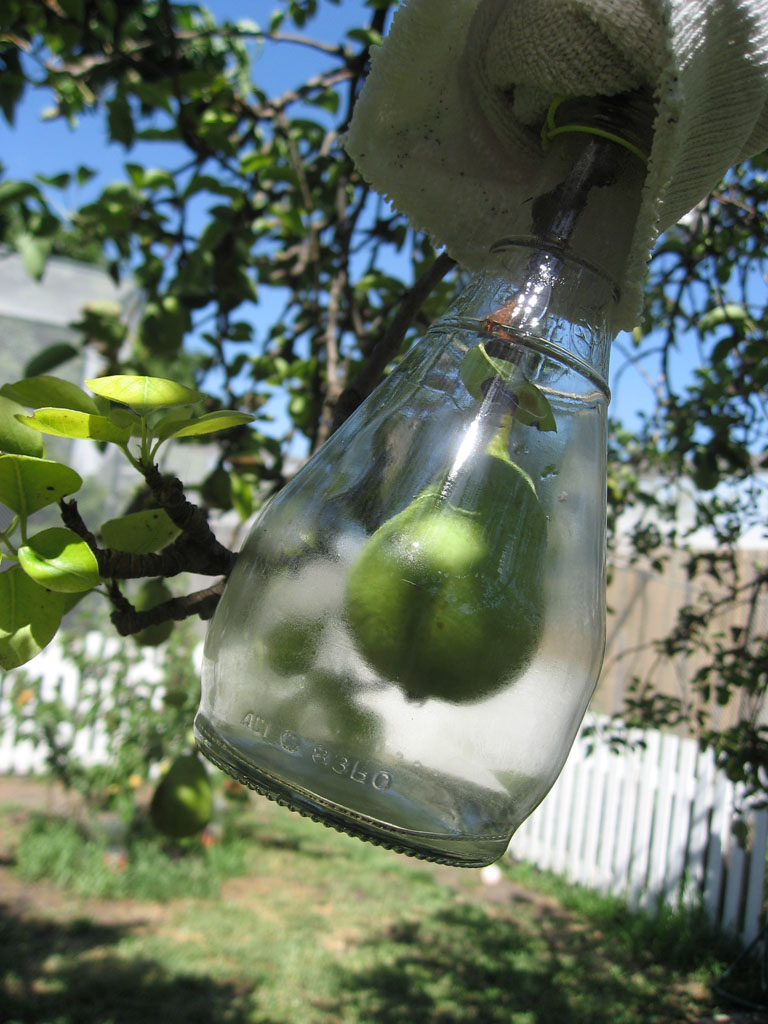
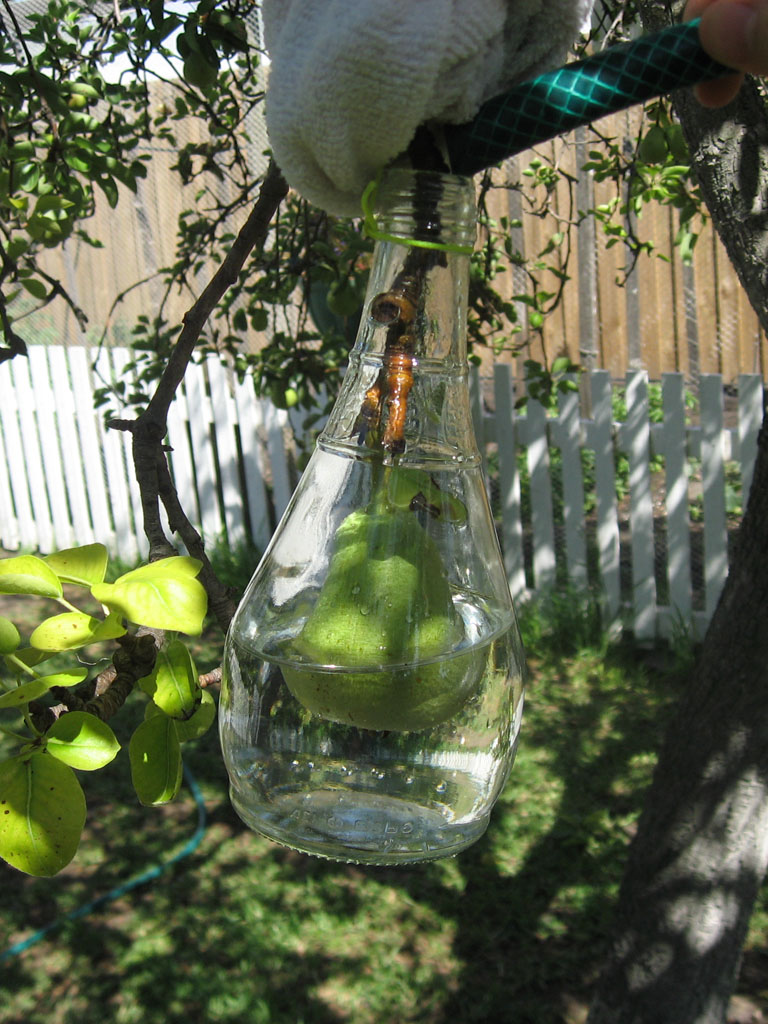
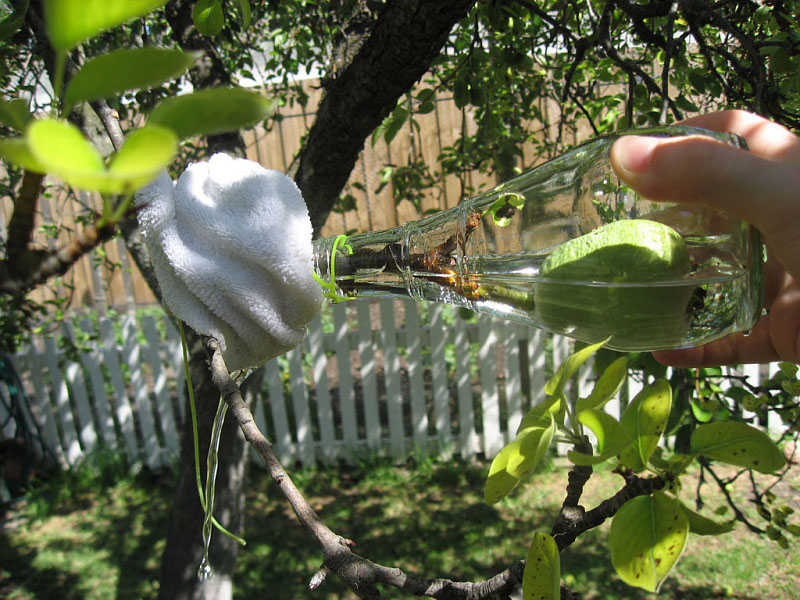
Make sure you're not letting too much weight hang from the branch, and just use the garden hose to rinse things a few times over.
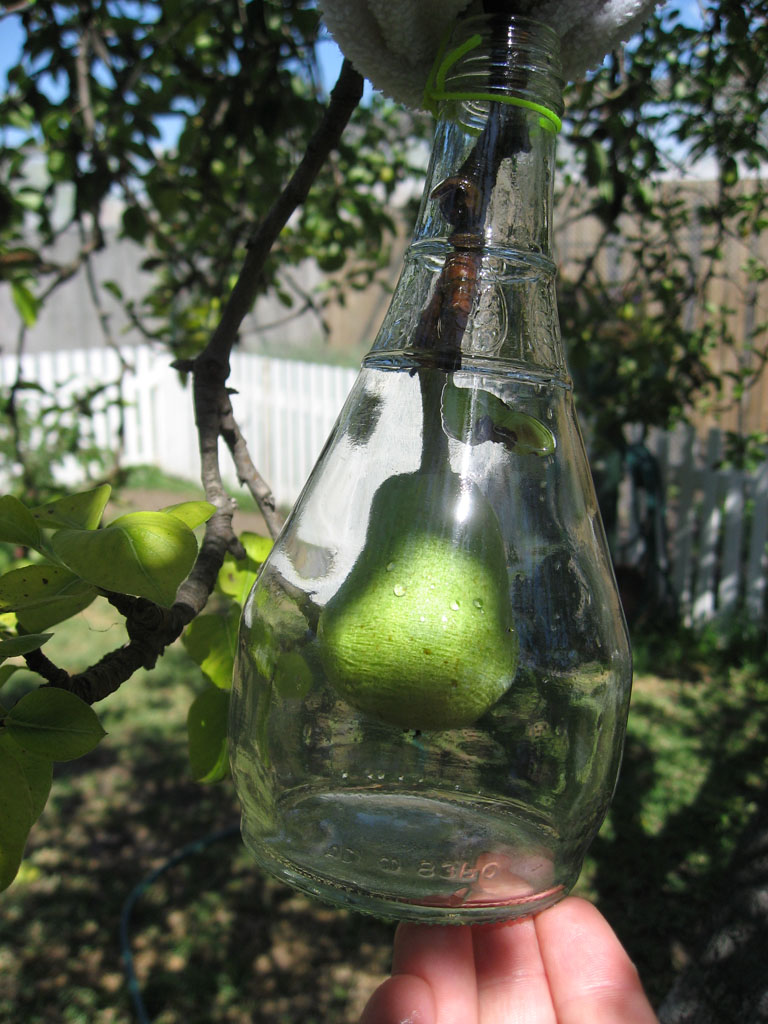
There, nice and clean again for daddy.
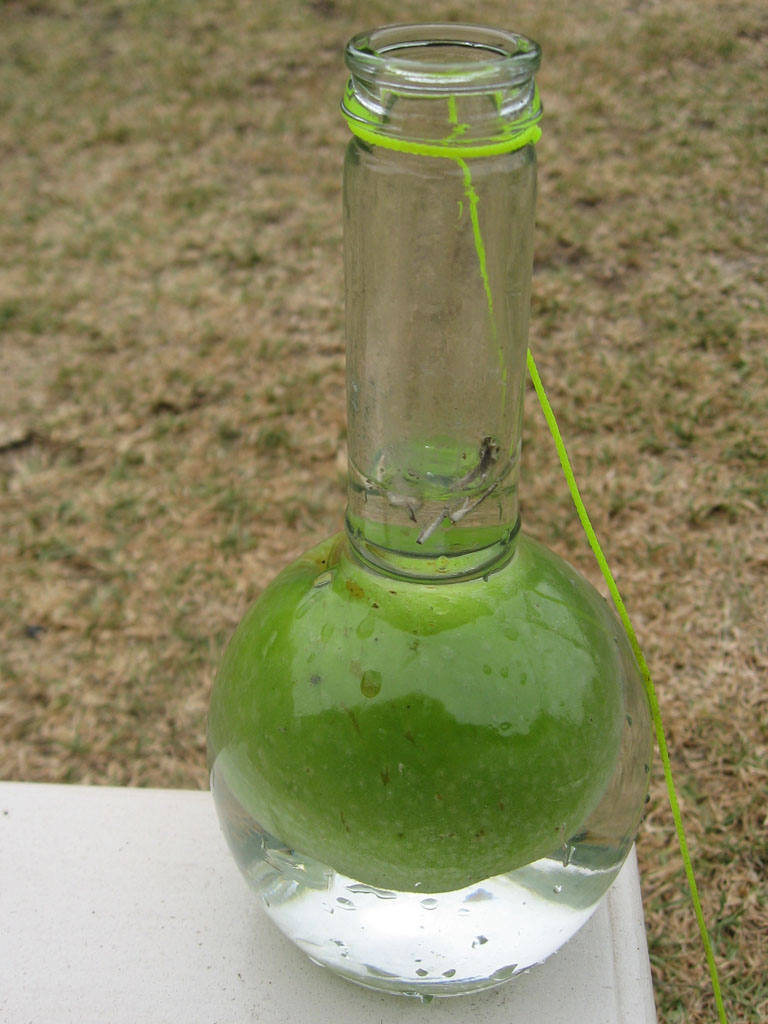
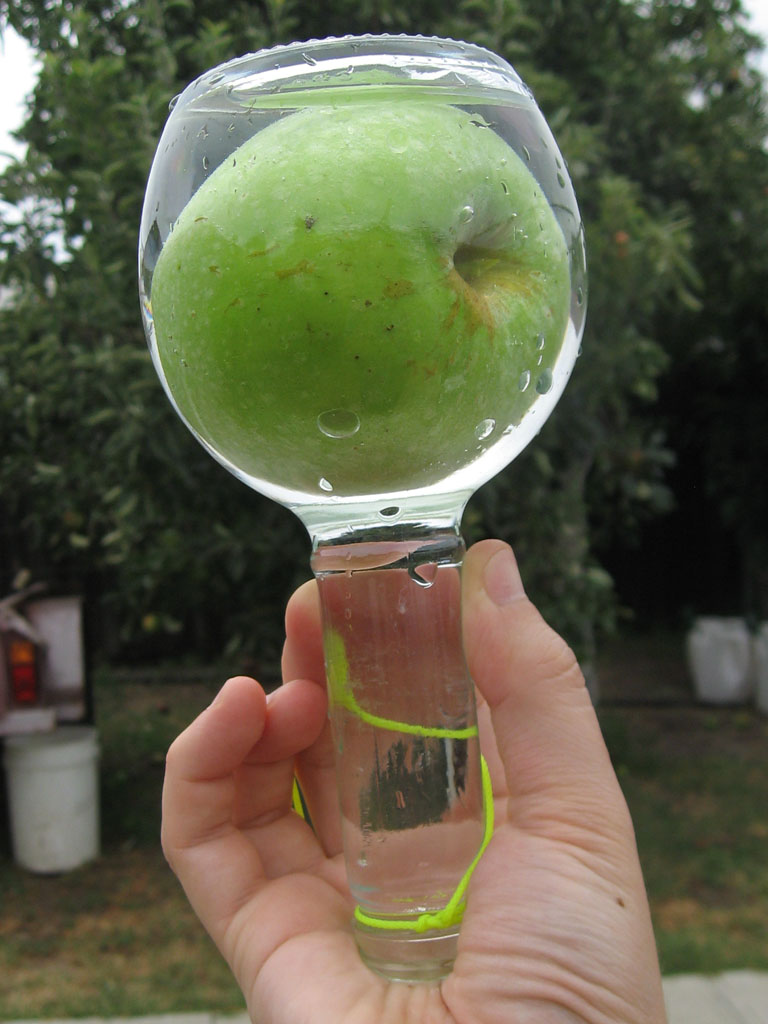
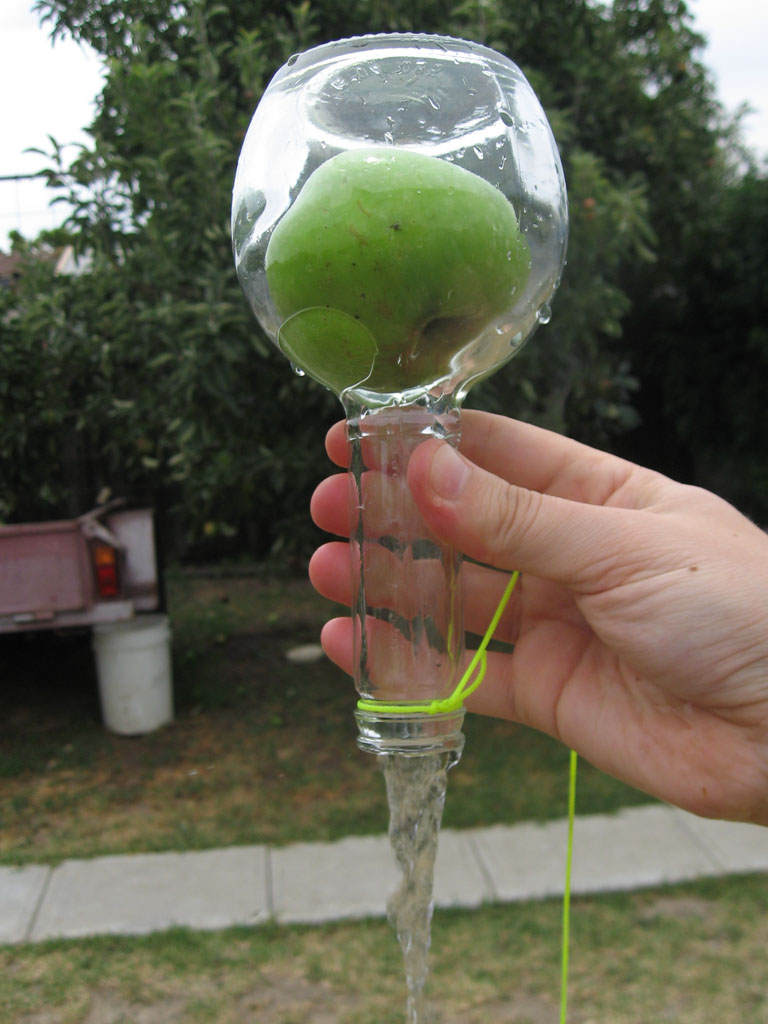
Pro's Tip: For crap that floats just keep filling the bottle and it'll float out, but for crud that's sunk you're going to have to carefully turn the bottle upside down and draw it out.
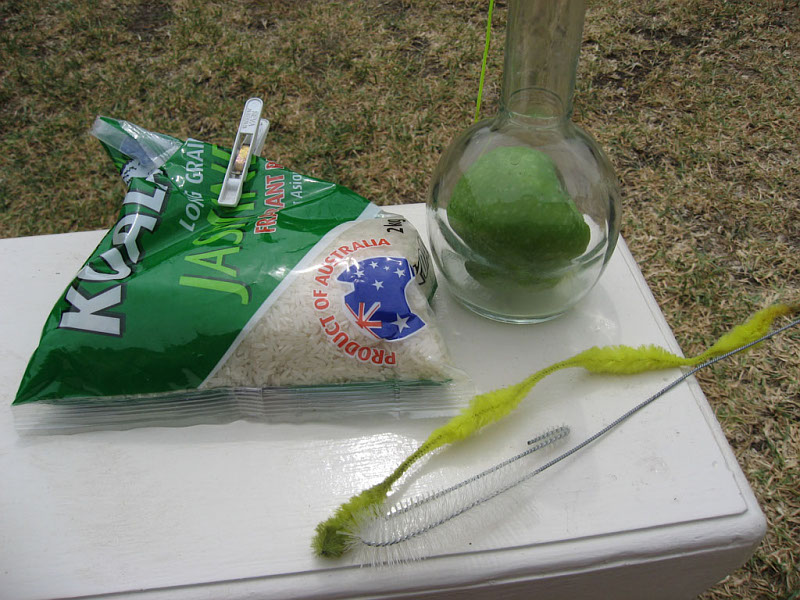
To really clean the bottle, you're going to need to scour it. I use a handful of rice and water, but some use brushes and pipe cleaners - be sure to rinse very well with clean water, then some high-proof spirit. Pro's tip: Use filtered or bottled water to keep chlorine out of your fruit.
....end for now.
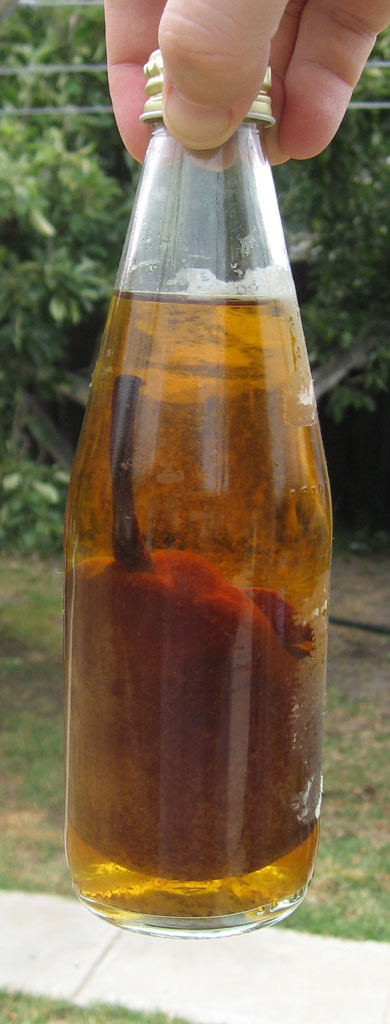
Well... how does the bottle 'o fruit 'o grog turn out ? Bloody awesome thats how!
It amazes everyone you show... they will ask you how the hell you got that piece of fruit inside the bottle EVERY TIME !
Cheap, easy, looks better than it has any right to.
|


|

|

|