


|

|
|
|
HOW TO BUILD A CHEAP ONBOARD BIKECAM I'd been wanting to do this for donks! Years ago I dreamed of bolting my ancient 8mm tape handycam to a motorcycle but the camera proved too big and cumbersome to be a real proposition. Fast forward 10 years and enter the digital age... small digital cameras are everywhere and they are both sophisticated and cheap, often able to shoot decent video as well as stills. Assuming you can get your hands on a suitable digital camera, building an onboard camera mount is so easy its a piece of piss! 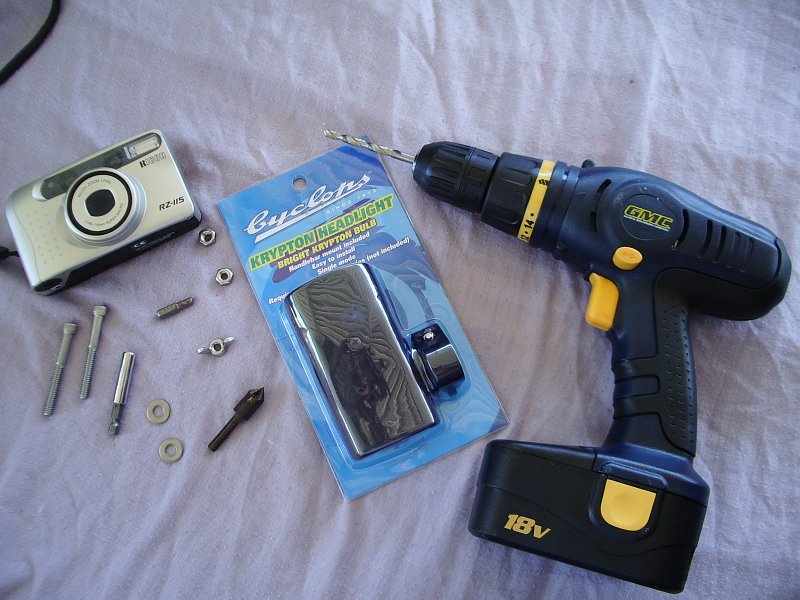
Here's the assembled parts needed. The cheapest strong solution I could come up with cost me $20 and 1/2 an hour in the shed. A quick hunt around Ebay's bicycle section scored me this handlebar mount pushbike headlight for 12 dollars. A trip to the local nuts and bolts supplier saw me walking away with the necessary hardware; (all stainless) 1 socket head bolt (1/4" x 3"), 2 nuts, a washer and a wingnut to suit for 7 bux... bargain!
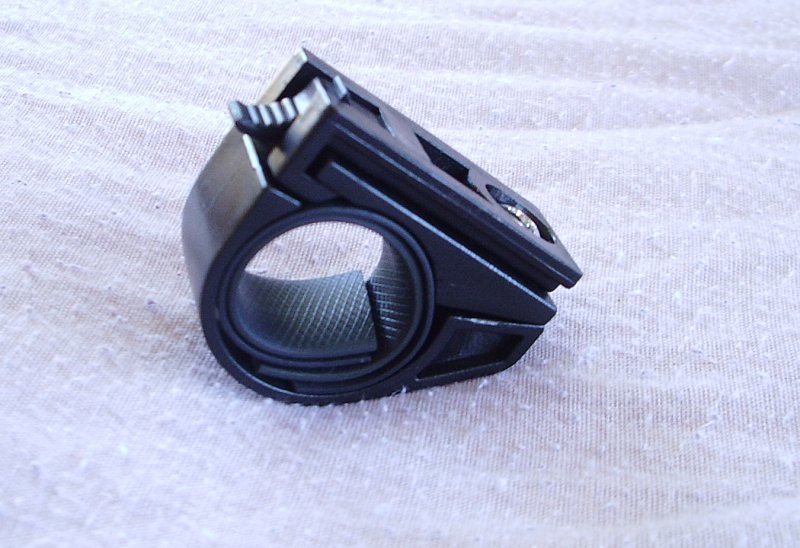
Here's the high impact plastic handlebar mount for the headlight (chucked the crappy headlight itself). This is what we need to modify to suit the universal 1/4" thread camera mount found under 99% of all consumer stills and video cams ever made.
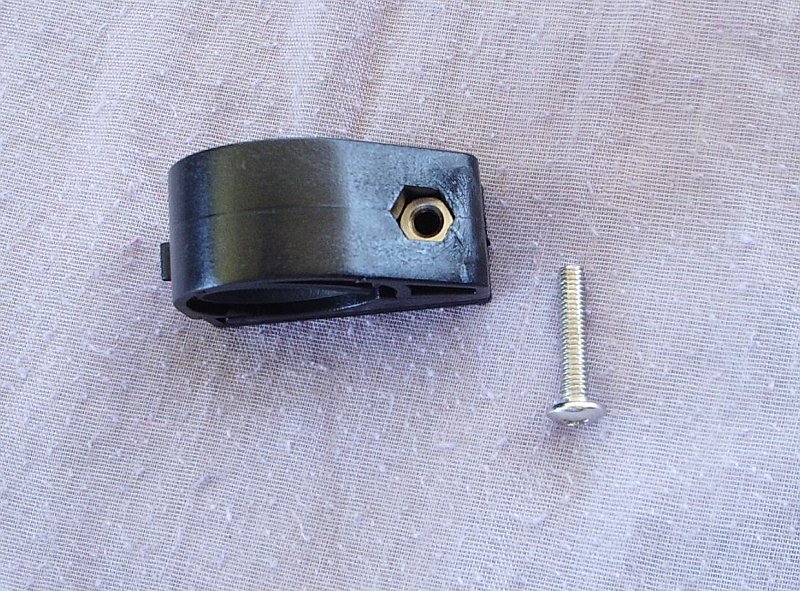
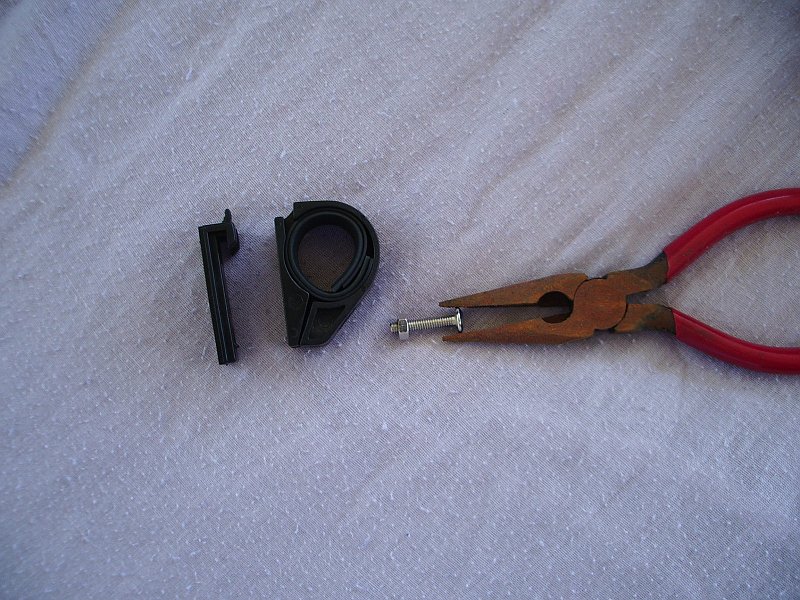
The standard mounting bolt is easily removed before being screwed into the back side of the nut. The nut is heat molded into the plastic but proves easy to reef out with a pair of pliers.
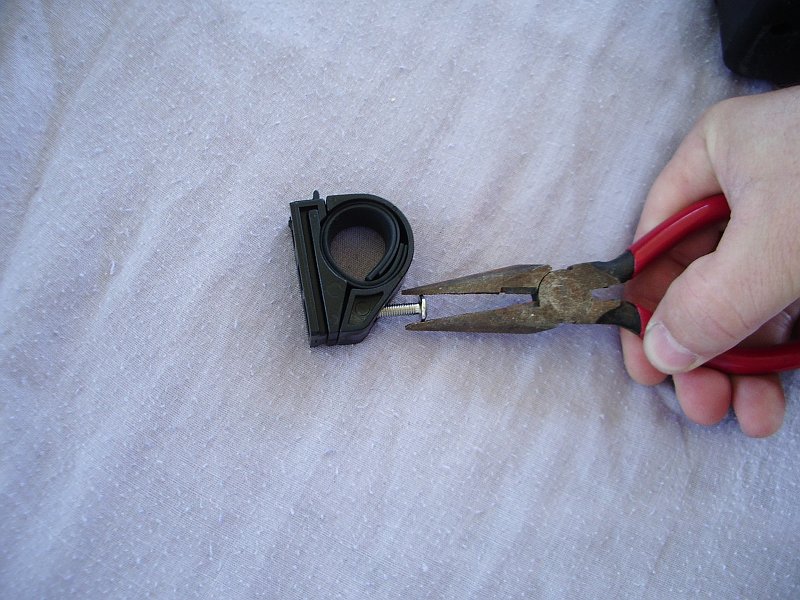
In this picture you can see the nut removed and the plastic headlight quick release piece removed from the other side of the handlebar clamp. We will be needing neither.
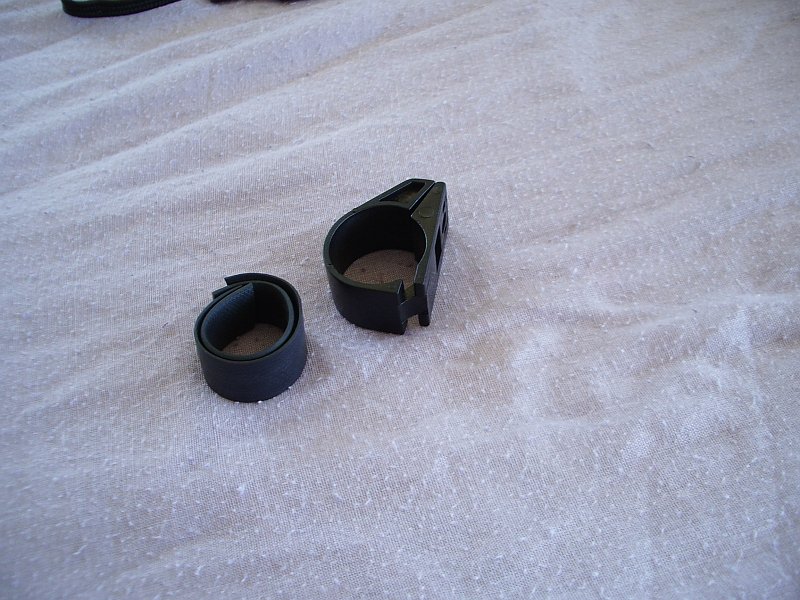
Here's the rubberized clamp liners removed. They come in two different thicknesses, enabling the clamp to be used on bars of differing diameters. The twin bonus of using a liner inside the clamp is the vibration reduction and resistance to slip the finished product exhibits.
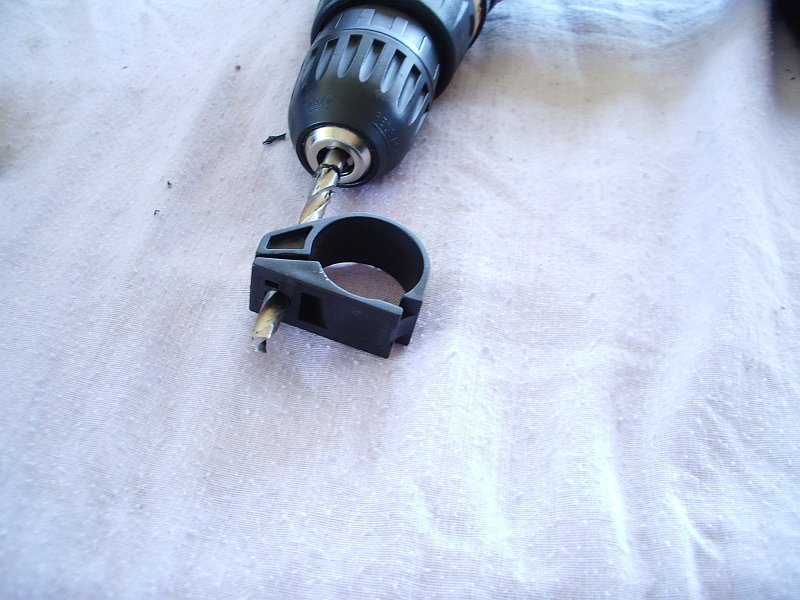
Boring out the clamps bolt hole to suit the larger diameter bolt we will be using.
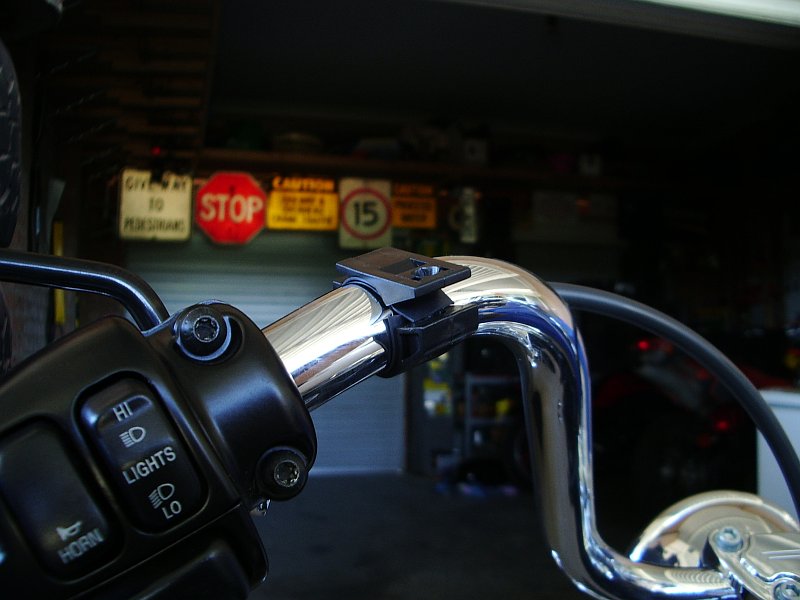
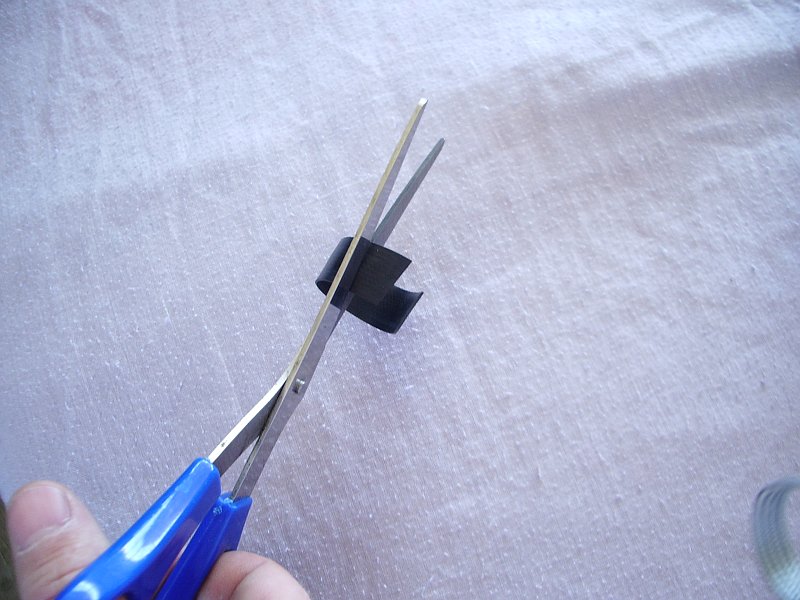
An on-bike mock up reveals that the clamp liner is too long and needs trimming up.
Its a cinch!
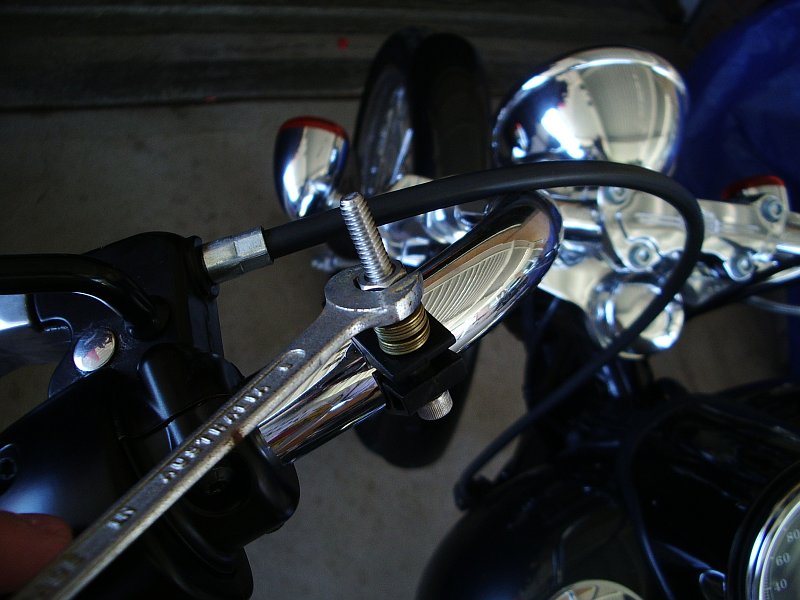
Time to get serious. The clamp refitted and the new mounting bolt in place reveals a fresh problem... the un-threaded shank of the bolt protrudes past the plastic clamp body making it impossible to tighten up the nut.

Scrounging around my shed I came up with a small stack of brass washers the right size to allow a nut to be tightened.
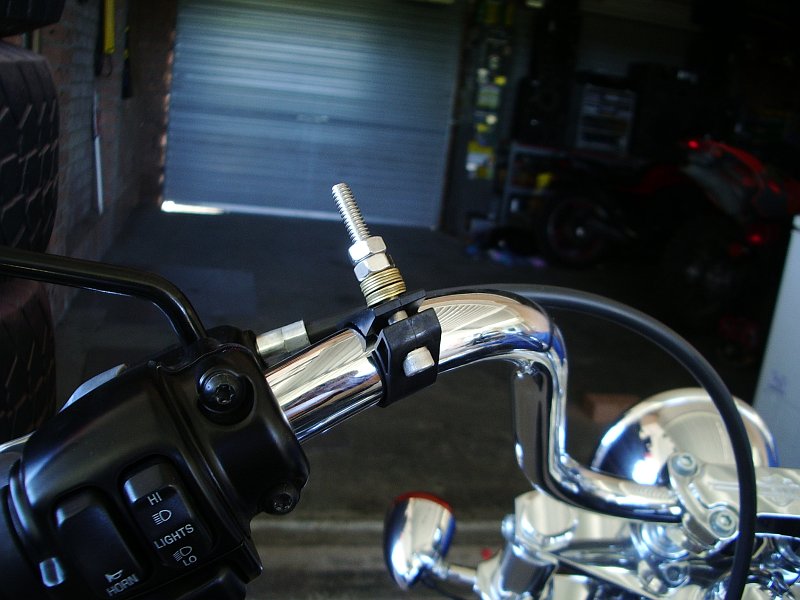
A second nut is wound down and tightened against the first as a locknut. This will prevent vibration from loosening the clamps mounting bolt.
The wingnut and washer mounted on the bolt. These will tighten upwards against the camera body to hold it in place at speed.
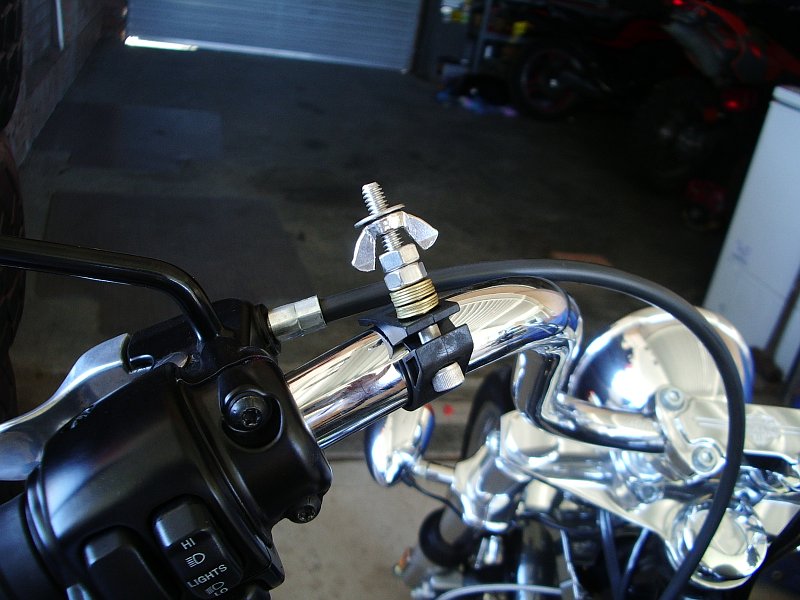
The finished product.
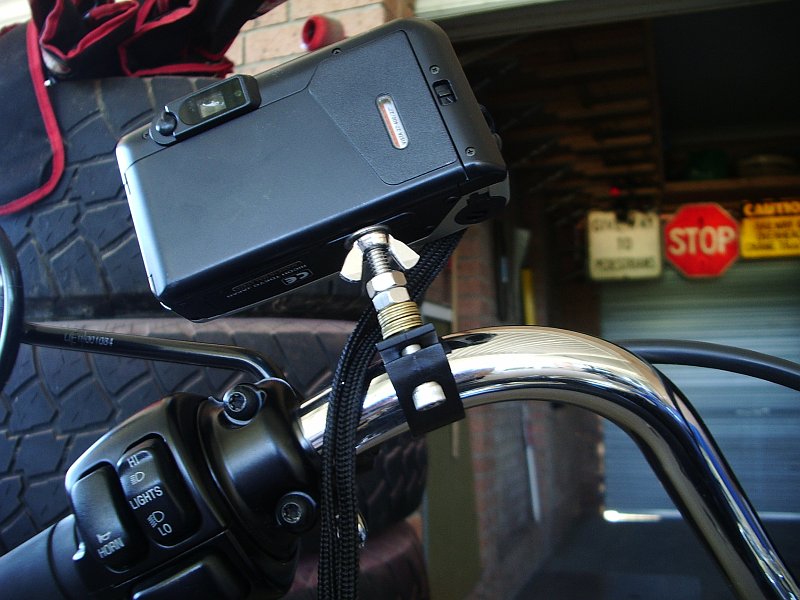
I used an old 35mm film camera to demonstrate the mount. The digital camera I'm putting on there I was using to take these shots.
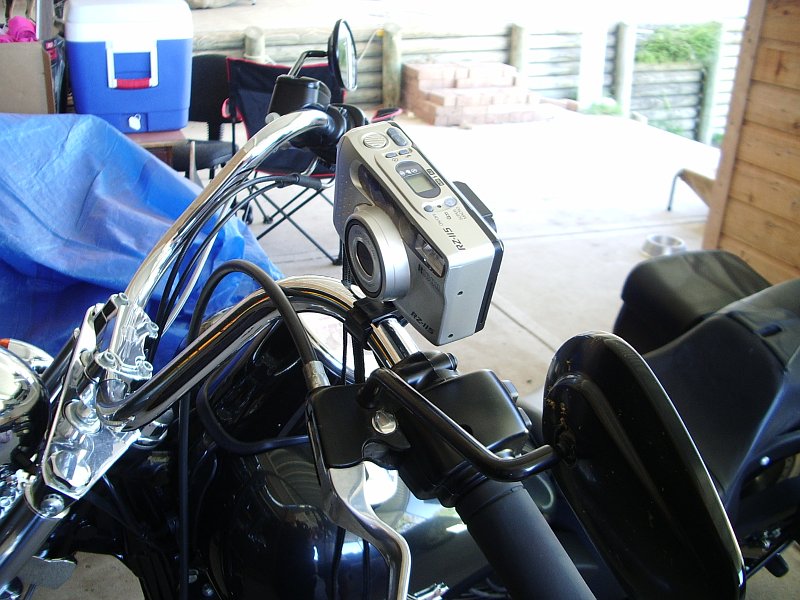
Well... how does the 20 buck camera mount work? Bloody awesome thats how! I've given it some video testing with the engine running and the bike moving and man, it ROCKS!!!
Tips:
If you'd like to see the bikecam in action then download an episode of Dudeworld TV, turn up the sound, crack open a cold beer and enjoy the ride.
Cheap, easy, works better than it has any right to.
|

Enjoy this article ? The site ? Would you buy me a beer for my efforts?


|

|

|